It’s already May. You’ve received your cap and gown, and it’s been staring at you from the corner of your room, from that chair only your clothes use—watching you study for the last few finals and push through procrastination to finish the papers on time. In between that and trying to find some time to catch some sun, you’ve been searching for graduation-cap-decor inspiration and creating countless boards on Pinterest. Do I want to be funny or cute? Is it going to be just a quote, a picture, a meme or a something else? The list of questions goes on.
I would like to share with you my process of getting ideas and creating something new and unique when it came to decorating my graduation cap, last spring.


Start with what you got. This might seem obvious but take into consideration what color is your cap. That can tell you a lot about the direction you might want to take. My cap was black, so I had lots of freedom for the most part.
If you’ve been planning your outfit since the beginning of the semester and have your look all down, its probably a good idea to keep in mind the style of your outfit, the colors, and details. Use those things as guidelines as they might spark an idea. For me, I did not have a specific outfit in mind—I chose what I was going to wear based on the colors I incorporated on the cap.
I knew I wanted my cap to be more or less minimalistic, elegant, and most importantly, different. I did not want to recreate a meme I saw on a cap on Pinterest or write a quote about learning and being unstoppable, not for any other reason but because I thought those things didn’t represent my style and who I am.
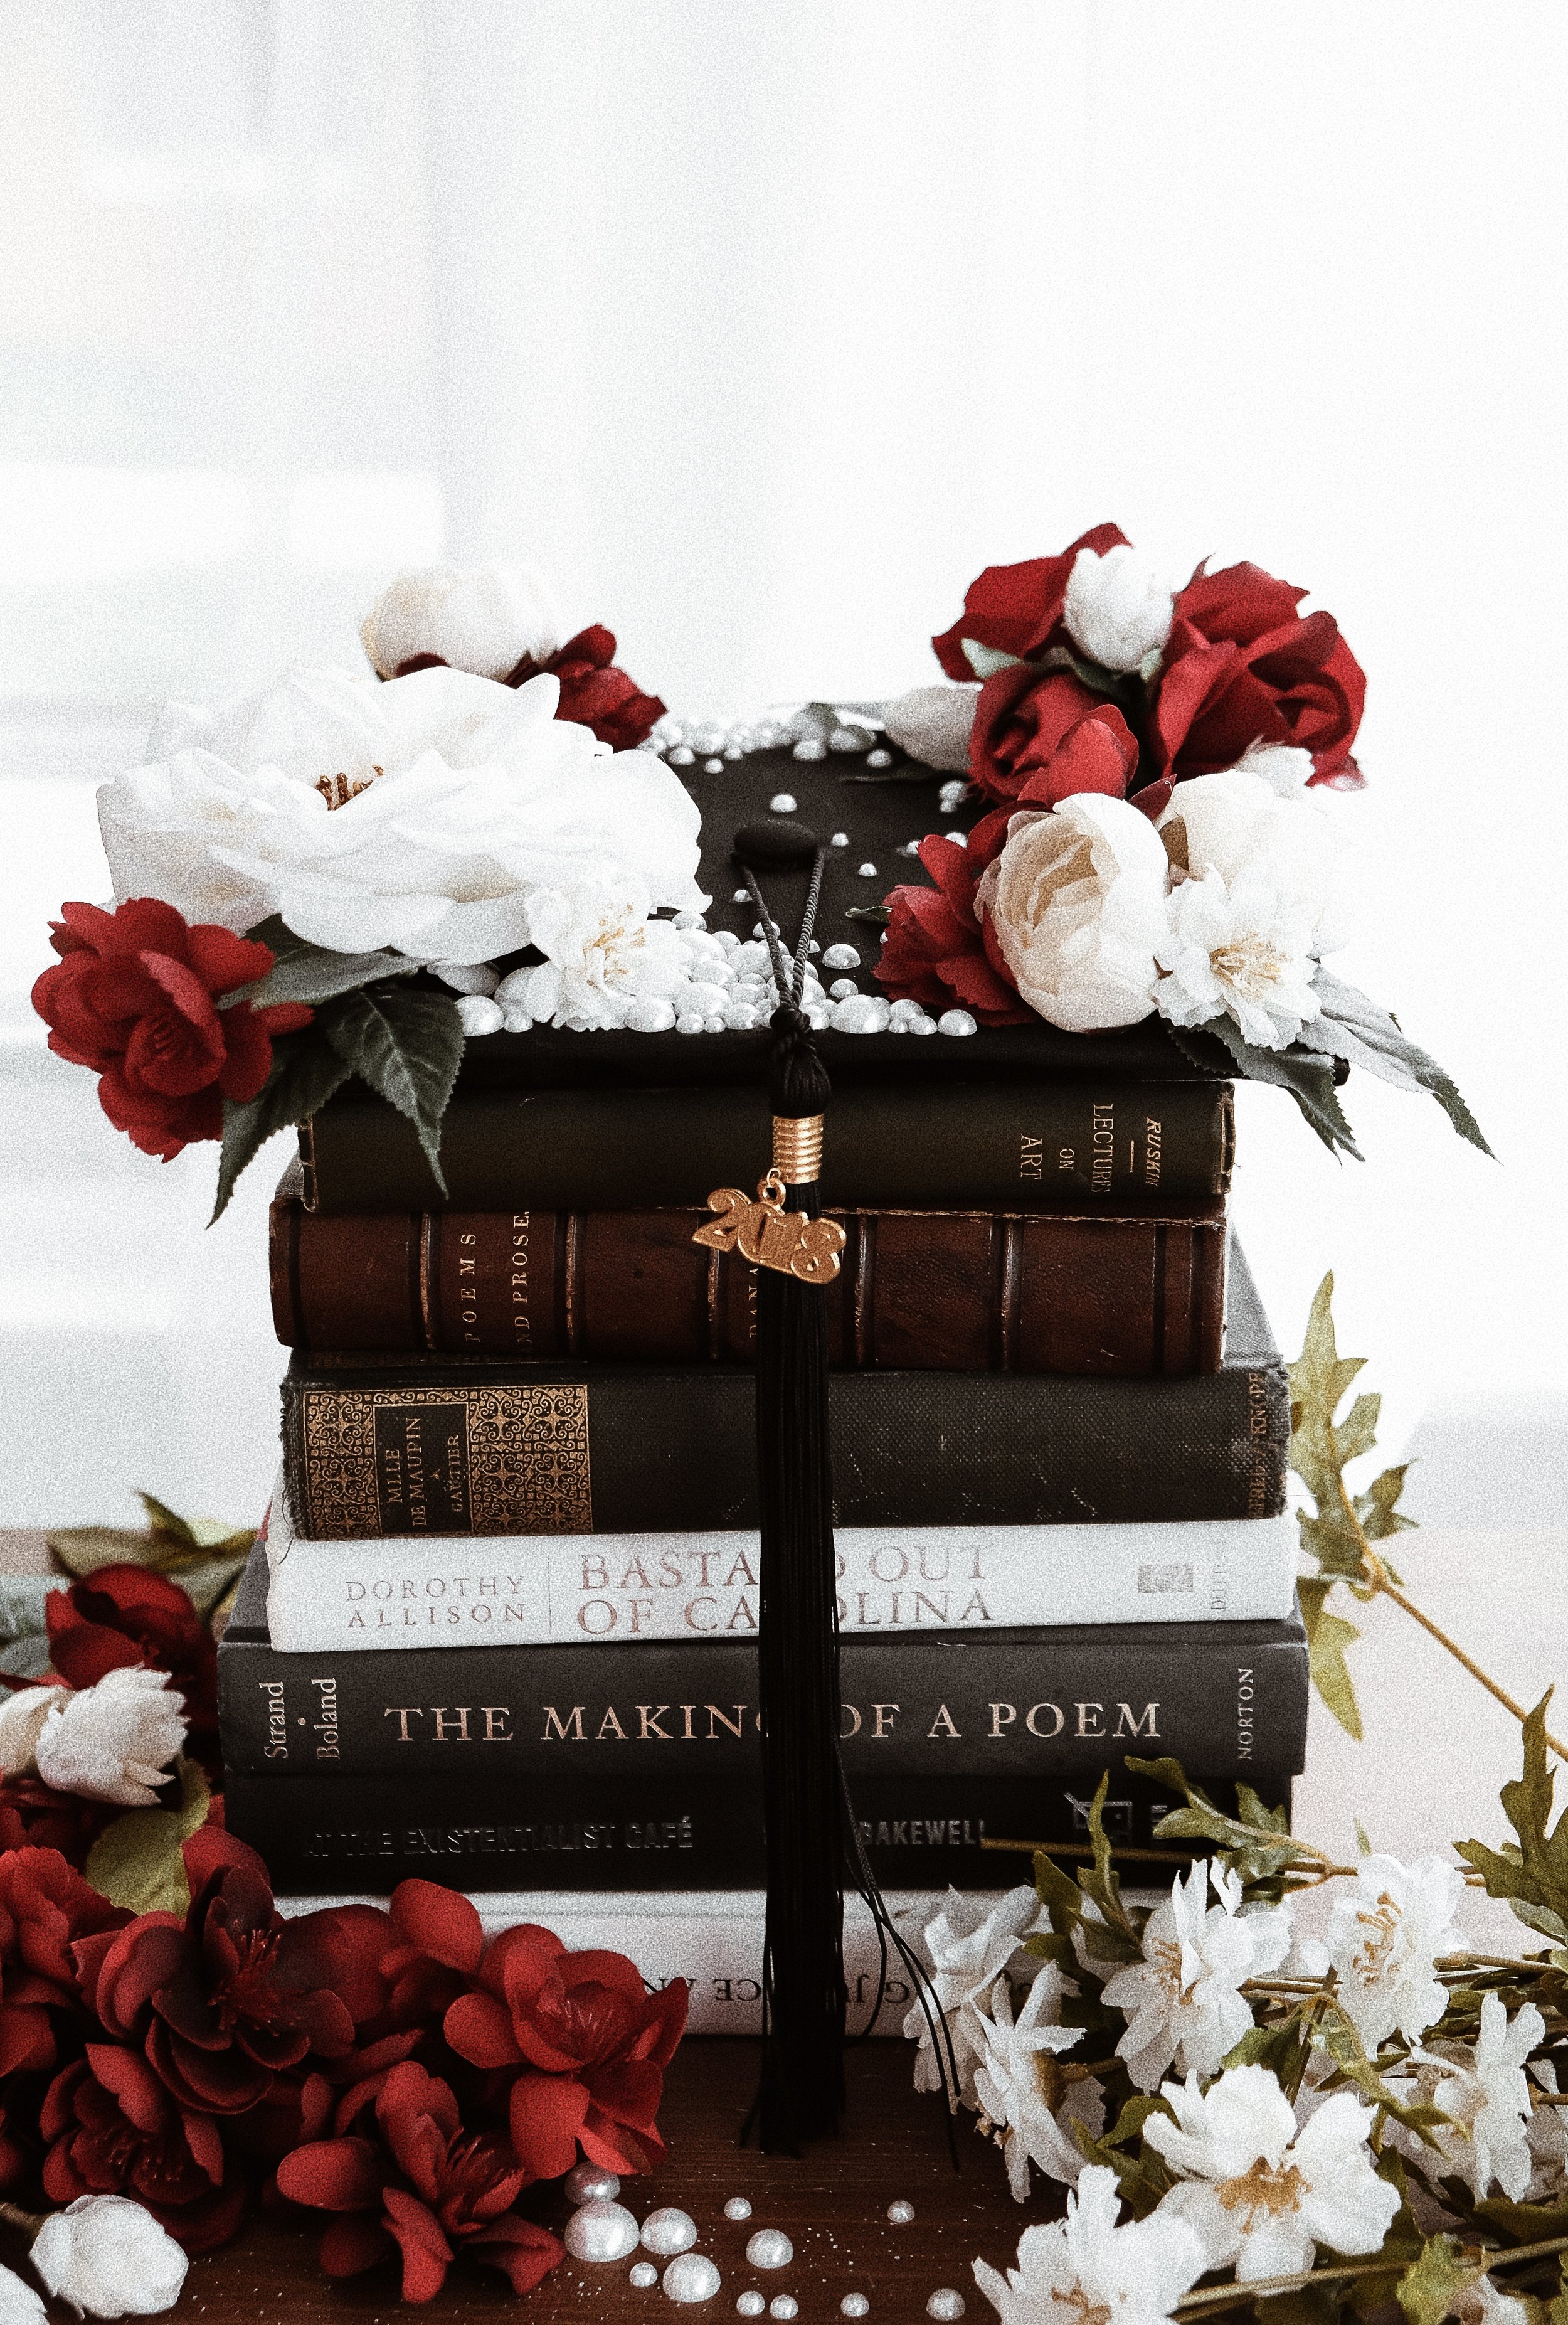
Without having much clue about the design I wanted, I went to Michael’s and started browsing. I came across some boxed small fake flowers (the ones you would use when making a collage on a board or something like that). I thought I could do my own take on the flower cap design using these. But then I decided to take a look at the section with the actual flowers (still fake, but those that you would put in a vase). My initial thought was that they would be too big. But after thinking about it for a little, I thought I can make it work. So, I picked my colors—I went for white and red because those are my favorite colors and they looked good with black—and tried to look for the ones that looked very close to fresh flower. I also came across a box of different size pearls that were cut in half, so I picked them up as well. I wasn’t sure what I was going to do with them, but I thought they could add an elegant touch. I left the store with a box of those pearls, some fake flowers, hot glue, and super glue.

When I got home, I separated the flowers and the leaves from the stems and laid them out on a table. Still, I wasn’t sure what I was doing (I want to say I wasn’t sure what I was doing up until I finished the first two corners of the cap), but I was starting to get an idea. I began by putting together a few flowers in one of the corners. Then, I started scattering some of the pearls, and then the next corner. My ideas (mainly on how to implement the pearls) kept on changing up until I have covered all four corners of the cap with the flowers and the leaves. It was a process, which wasn’t planned, but just happened as a result of allowing my imagination play with the mistakes I’ve made (for example, dripping the super glue on the fabric which changed its texture and covering it up with a few extra pearls, which inspired the fading-of-the-pearls look). As a result, I ended up with a cap that I absolutely loved. It also fell into all the categories that I initially had in mind, which I was really happy about as well.


My advice would be to look for inspiration, but don’t copy what you see someone else has already done. Instead, take that idea and use it to create your own.